

For this UV mapping tutorial, you must first know the basics of Blender. In this tutorial we will be first mapping a picture onto a plane, and then later on cube (when I make the next tutorial, sorry).
First off download this picture, (right click, save as)
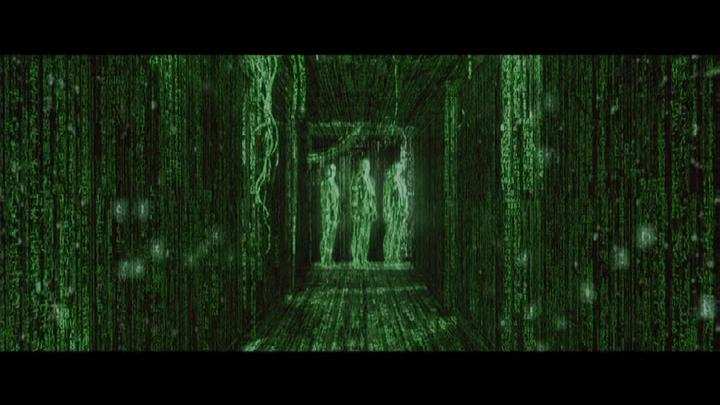
This is a picture out of the Matrix, which we will be mapping onto the plane.
First off, open a new Blender project. The plane in the middle should be pink, if not, right click it. Now, scale it while holding Ctrl to 3.500 on all X,Y and Z.
Now go to the Material button, and create a new material. Secondly, go to the Textures, make a new one and load matrix.jpg
Go back to the Materials now, and select these options highlighted in red...

Now, split the screen (go to the bar at the top, right click
on it and select "Split Areas"). Now go to this button ![]() and click on it, and then search and click on this one
and click on it, and then search and click on this one ![]() .
In the window, you will see the option "Load", go to it and select the
Matrix picture.
.
In the window, you will see the option "Load", go to it and select the
Matrix picture.
Done that? Great! K, select the plane again, and go into Edit Mode. Select all the vertexes (just press the A key) and subdivide it 2 times.
Once done, go out of Edit Mode and press F. The picture in the side window should now be gone, but don't freak. While the whole plane right now should be white, go to it and press A key. You should notice that there are small squares where your old Matrix pic would have been.
Go to the side window where the Matrix pic was and pull down
this ![]() , in their
should be Matrix.jpg or whatever you named that pic. Press it and it should come
on screen. You will notice that the squares from before will stick to the border
of the picture.
, in their
should be Matrix.jpg or whatever you named that pic. Press it and it should come
on screen. You will notice that the squares from before will stick to the border
of the picture.
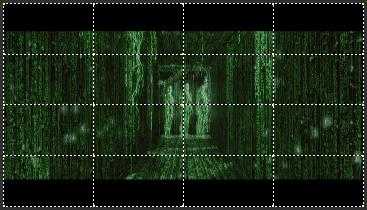
Okay, looks cool right. Well, now you have to twirl the plane so it's 90 degrees from the ground, then put a light in and render it. It should turn out something like this.
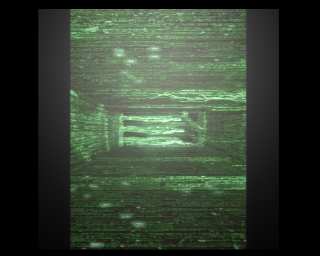
But this is the bit where it gets better. Say we wanted to have the three faces pictured again and again like this.
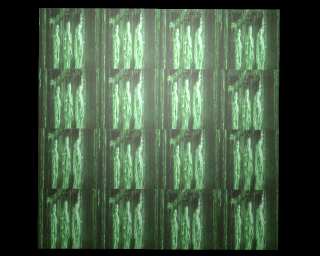
That's what we're gonna do now. This is especially good for things like spaceship hulls when you need to chose different bits of a picture like armour, solar panels or warning signs.
What you do is you select only one square using right click, like this

Now, look over at the second window. Instead of lots of squares, there will be only one. The part of the picture this lone square is over is what it is showing. Mine shows that it is showing the top right of the picture.
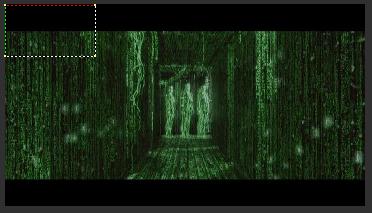
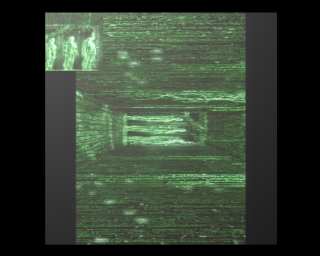
Now, go to the window showing the square, press A key to highlight all the vertices, and then press G key and move it wherever you want. You can use the Grab (G key), Rotate (R key) and so on. Once you move it, the picture will change. For example, I moved the square from the top right to the middle and rotated it 90 degrees.
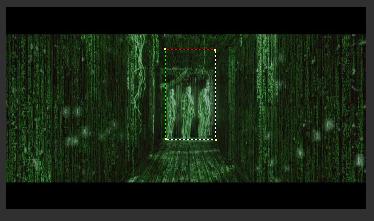
And now the final render turns out like...
This is just the start of my tutorial. Later on we will be
mapping a cube with a metallic texture, but if your adventurous, you can try by
yourself. Just note that you don't select Cube, select ![]() flat, because was are rendering on a cube, but the faces, as you guessed, are
flat.
flat, because was are rendering on a cube, but the faces, as you guessed, are
flat.
I hope this tutorial helped you out, any questions are welcome, send them to smerity@hotmail.com
All images made with Blender, Blender is a totally free 3D application and is as good as 3DS Max or Cinema 4D.
By Stephen Merity
Please report any broken links or problems to smerity@hotmail.com
I am in no right affiliated with Warner Bros. or the Matrix, and the Matrix picture is only for educational purposes only.